How to Catch, Photo, and Release (CPR) Largemouth Bass
Many anglers in today’s day and age are not out fishing for dinner but rather out fishing for the love of the tug, addicted to catching fish and enjoying spending time on the water. If anglers don’t plan to keep and clean the fish for the frying pan – then it is essential that they follow the prescribed catch, photo, and release (CPR) procedures to ensure bass are handled safety and have high rates of survival once returned to the water.
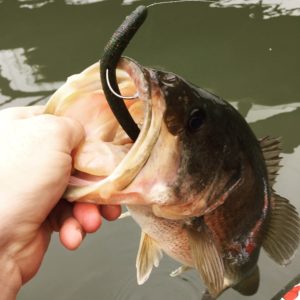
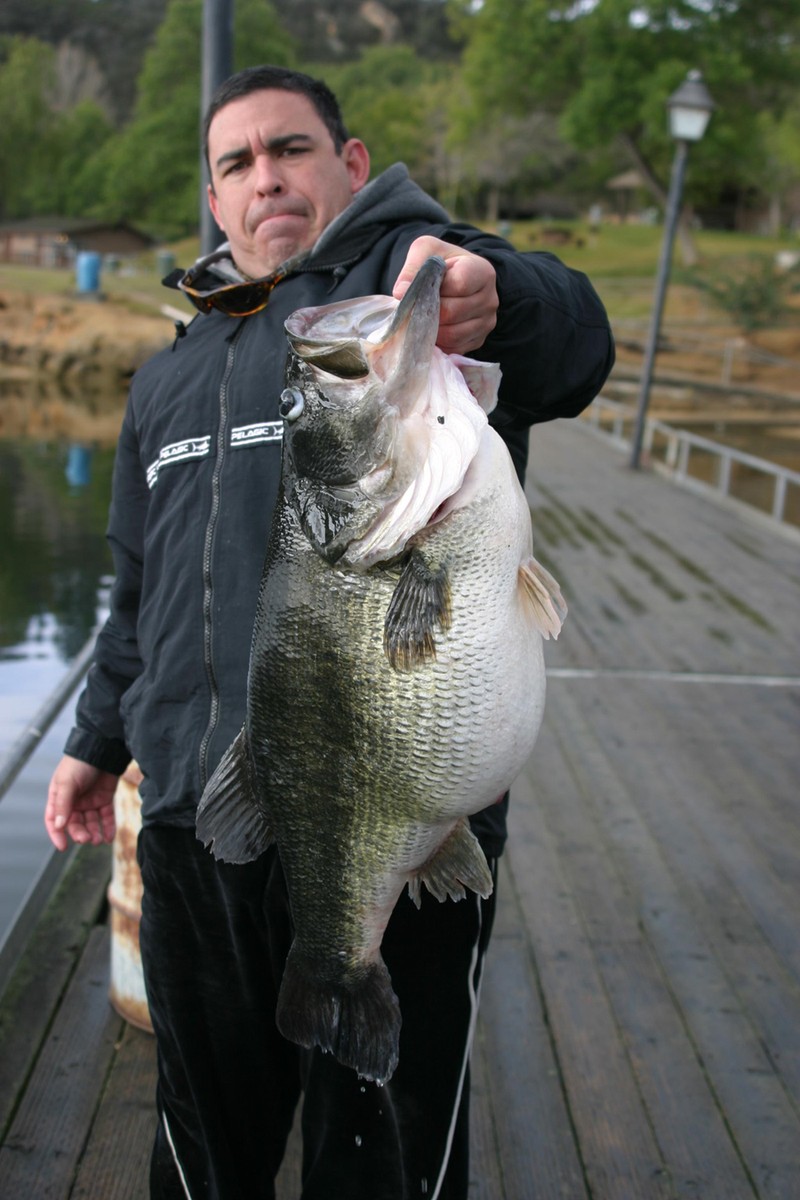
Lipping a largemouth bass.
1.THE CATCH – When you feel that “tap” or see your line moving – set the hook and begin to reel! While some pro’s will swing fish into the boat, that practice is generally discouraged for novice anglers. Lipping or netting the fish is the recommended way to secure the catch.
- Lipping – anglers grasp a bass with their thumb and forefinger gripping the bottom lip, using their second hand to support the body if the fish is of larger size. Lipping bass can cause abrasions to the skin as bass have sandpaper like teeth along their lips that can scratch.
- Netting – the fish should be near the surface of the water but not above. Be careful not to hit the fish with the rim of the net or extend it towards the fish too early.
Keep the fish submerged underwater for as long as possible – this allows the fish to breathe and keeps stress and time out of the water to a minimum. TIP – bass are covered in slime – this protective layer helps keep bass healthy. When a fish is put on to the ground, a boat floor, or handled with dry hands, it can remove this protective slime and hurt the fish’s chance for survival.
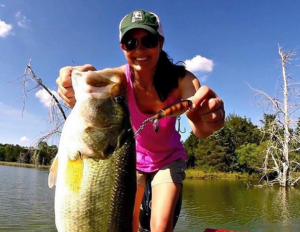
A great bass fishing picture via @bassfishingliz on instagram
Remove the hook(s) as quickly as possible – having a pair of pliers
2. THE PHOTO – Be sure to bring along your phone, GoPro


3. THE RELEASE – Timing and gentleness are key. Set the fish back into the water while either lipping it or grasping its body. The fish should be supported until is begins to move or swim on its own. Most fish will begin to swim within 3-5 seconds, if not immediately. You may want to work a fish back and forth, in an almost swimming motion, to push water across its gills, if it does not respond a few seconds after placing it in the water.
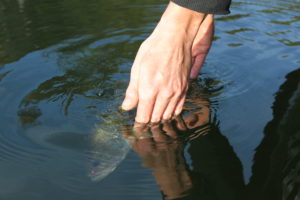
Largemouth bass gentle release.
Tossing a fish back into the water ultimately may not injure the fish, but placing it in the water and allowing it to regain its bearing is preferred.
- DO place the fish gently into the water
- DO ensure the fish is able to swim on its own before releasing grasp
- DO work fish in swimming motion to help it breathe
- DO NOT throw or toss the fish
- DO NOT leave any hooks or fishing line in the fish